Running FragPipe Batches (Job Queue)
This tutorial describes the ways to run multiple FragPipe jobs in series, using the Batch tab user interface or via the command line.
FragPipe Jobs and the Batch tab
A “Job” is one complete FragPipe run, analogous to clicking “Run” on the Run tab. Jobs are the basic unit of the Batch mode and can be saved, loaded, and run as a batch on the Batch tab.
A Job consists of the following components:
- Workflow File (.workflow) (required): The workflow file defines which tools are run and contains all the parameters. Either built-in or custom workflows can be used for jobs. Custom workflow files can be saved by clicking the “Save to custom folder” button on the Workflow tab.
- LC-MS Manifest File (.fp-manifest) (required): The fp-manifest file defines which LC-MS files (e.g., raw or mzML files) will be analyzed by the job, their data types, and any experiment and replicate settings. Manifest files can be generated on the Workflow tab by filling in the table and clicking the “Save as Manifest” button.
- Output Directory (required): Where to save the output. If it does not exist, FragPipe will create it automatically at runtime.
- Tools Folder Path: (optional) The path to the folder containing MSFragger, IonQuant, and diaTracer files. If not specified, the path from the Config tab of FragPipe will be used. This only needs to be specified in order to use different tool versions for different jobs.
- Fasta Path: (optional) The path to the fasta database to be used. Workflow files automatically save the fasta path so it is not required to specify a fasta here, but this field can be used to override the fasta in the workflow file.
- RAM: (optional) The amount of memory to use for the job. FragPipe will auto-detect the available memory if not provided.
- Threads: (optional) The number of CPU threads to use for the job. FragPipe will auto-detect the available CPU threads if not provided.
### Saving, loading, and running Jobs
For most users, we recommend creating Jobs using the FragPipe GUI. Set up a FragPipe run as usual for a single analysis (see the general tutorial for details: (https://fragpipe.nesvilab.org/docs/tutorial_fragpipe.html)). Once everything is ready, instead of clicking “Run” on the Run tab, click “Save as Job”. This will create a .job file with all the information needed to run the job and save it to the Jobs folder inside FragPipe. It will also automatically load it to the Batch table on the Batch tab. You can name the job using the text box next to the “Save as Job” button if desired.

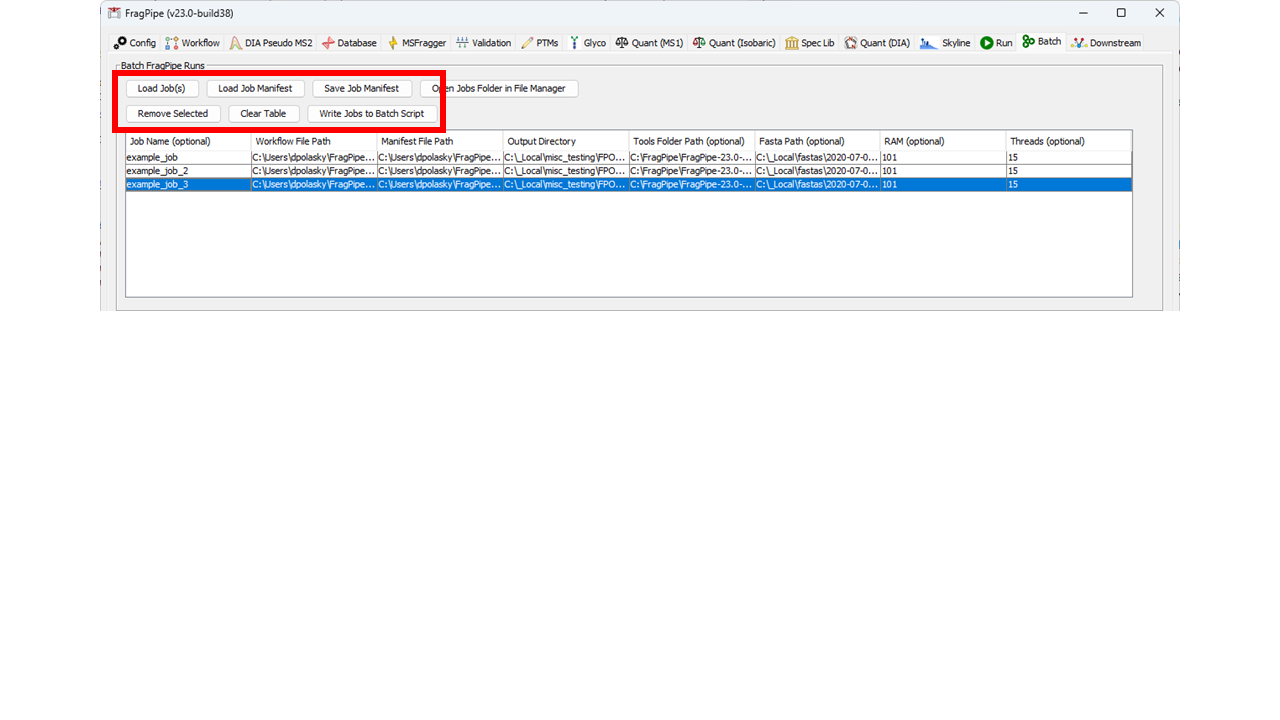
Multiple jobs can be created this way by changing the parameters, raw files, and/or output directory and saving a new job. When all jobs are ready to run, go to the Batch tab and click “Run All” to run all jobs that are loaded in the batch table. The progress bar will display the status of the batch, and the output of each run can be viewed in the console below. The “Stop All” button can be used to stop a batch of jobs mid-run. Note that once a batch of jobs is running, any edits to the batch table are ignored until the batch is finished and a new batch is started (i.e., a batch is “submitted” to run, not read live from the table throughout the run).

To save a compiled batch of jobs, use the “Save Job Manifest” button. Job Manifests (i.e., lists of saved jobs) can be loaded using the “Load Job Manifest” button. Individual Job(s) can also be loaded to the table with the “Load Job(s)” button. All loaded jobs will be added to the table. If you want to remove existing jobs prior to loading new ones, use the “Clear Table” button, or use the “Remove Selected Jobs” button to remove only highlighted job(s) from the table.

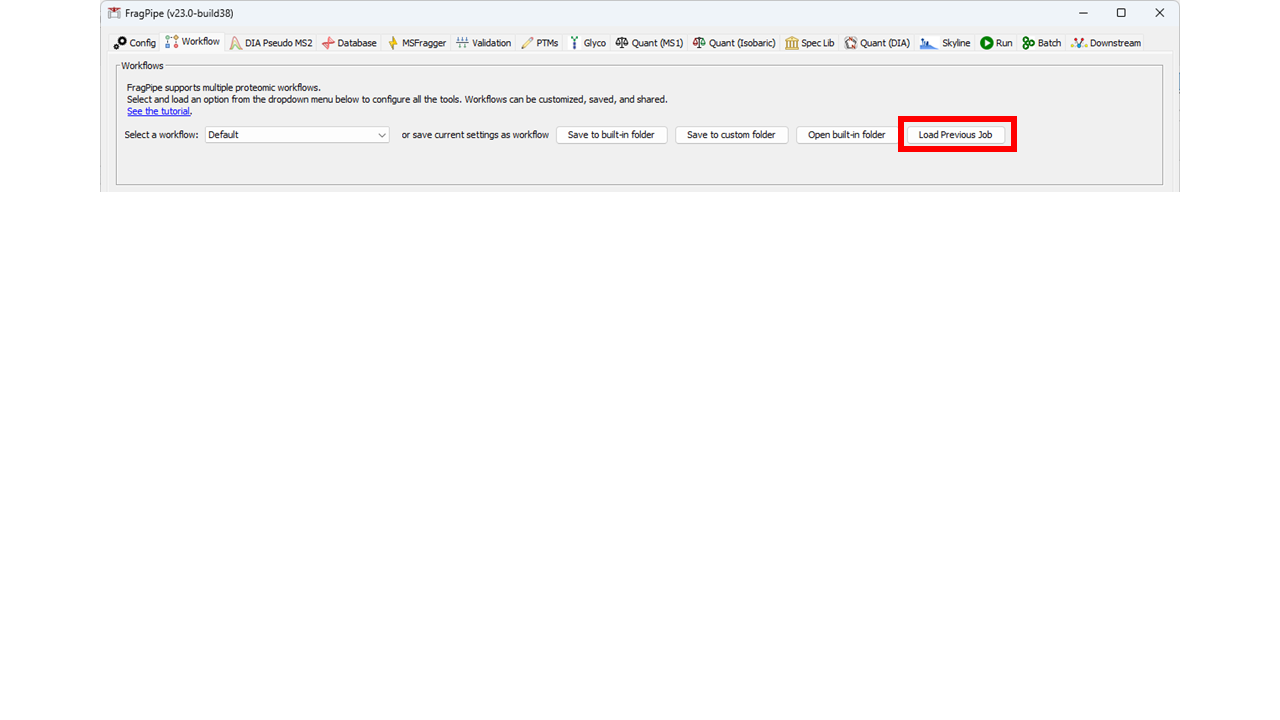
Previously saved jobs can also be loaded into the rest of the FragPipe GUI on the Workflow tab. This can be used to see what the settings were in a previous job, or to run a job as a standard (single) FragPipe run using the Run tab.
