Running FragPipe in command line interface (headless mode)
For most desktop users, we recommend running FragPipe in GUI mode (https://fragpipe.nesvilab.org/docs/tutorial_fragpipe.html). Users can also use FragPipe on remote server with X forwarding (https://fragpipe.nesvilab.org/docs/tutorial_setup_x_forwarding.html).
To run FragPipe in command line interface, using fragpipe (Linux) or fragpipe.bat (Windows) in fragpipe/bin directory with the following commands:
Running without GUI. Usage:
        Windows: fragpipe.bat --headless --workflow <path to workflow file> --manifest <path to manifest file> --workdir <path to result directory>
        Linux: fragpipe --headless --workflow <path to workflow file> --manifest <path to manifest file> --workdir <path to result directory>
Options:
        -h
        --help                          # Print this help message.
        --headless                      # Running in headless mode.
        --workflow <string>             # Specify path to workflow file.
        --manifest <string>             # Specify path to manifest file.
        --workdir <string>              # Specify the result directory.
        --dry-run                       # (optional) Dry run, not really run FragPipe.
        --ram <integer>                 # (optional) Specify the maximum allowed memory size. The unit is GB. Set it to 0 to let FragPipe decide. Default = 0
        --threads <integer>             # (optional) Specify the number of threads. Default = core number - 1
        --config-tools-folder <string>  # (optional) specify the folder containing MSFragger, IonQuant, and dirTracer. If not specified, using the one in the cache.
        --config-diann <string>         # (optional) specify the location of the DIA-NN binary file (the actual executable file `DiaNN.exe`, not the DIA-NN installation file). If not specified, using the one in the cache. It could be from the previously configured or the build-in one.
        --config-python <string>        # (optional) specify the location of the Python directory. If not specified, using the one in the cache.
The built-in workflow files can be found in https://github.com/Nesvilab/FragPipe/tree/develop/workflows
The manifest file format is <path to LC-MS file> <experiment name> <bioreplicate> <data type>. The columns are separted by tab. The following is an example:
/storage/b1906_293T_proteinID_01A_QE3_122212.mzML	exp_a	1	DDA
/storage/b1922_293T_proteinID_02A_QE3_122212.mzML	exp_a	2	DDA
/storage/b1923_293T_proteinID_03A_QE3_122212.mzML	exp_b	1	DDA
/storage/b1924_293T_proteinID_04A_QE3_122212.mzML	exp_b	2	DDA
/storage/b1925_293T_proteinID_05A_QE3_122212.mzML	exp_c	1	DDA
Note: For the first time running FragPipe in command line mode, must specify --config-tools-folder, --config-diann, and --config-python.
To let FragPipe find the TMT annotation file in the headless mode, put the mzML files from the same experiment in the same folder. Then, create the annotation file with the name ending with annotation.txt in the folder.
Note: There must be only one annotation file in each folder.
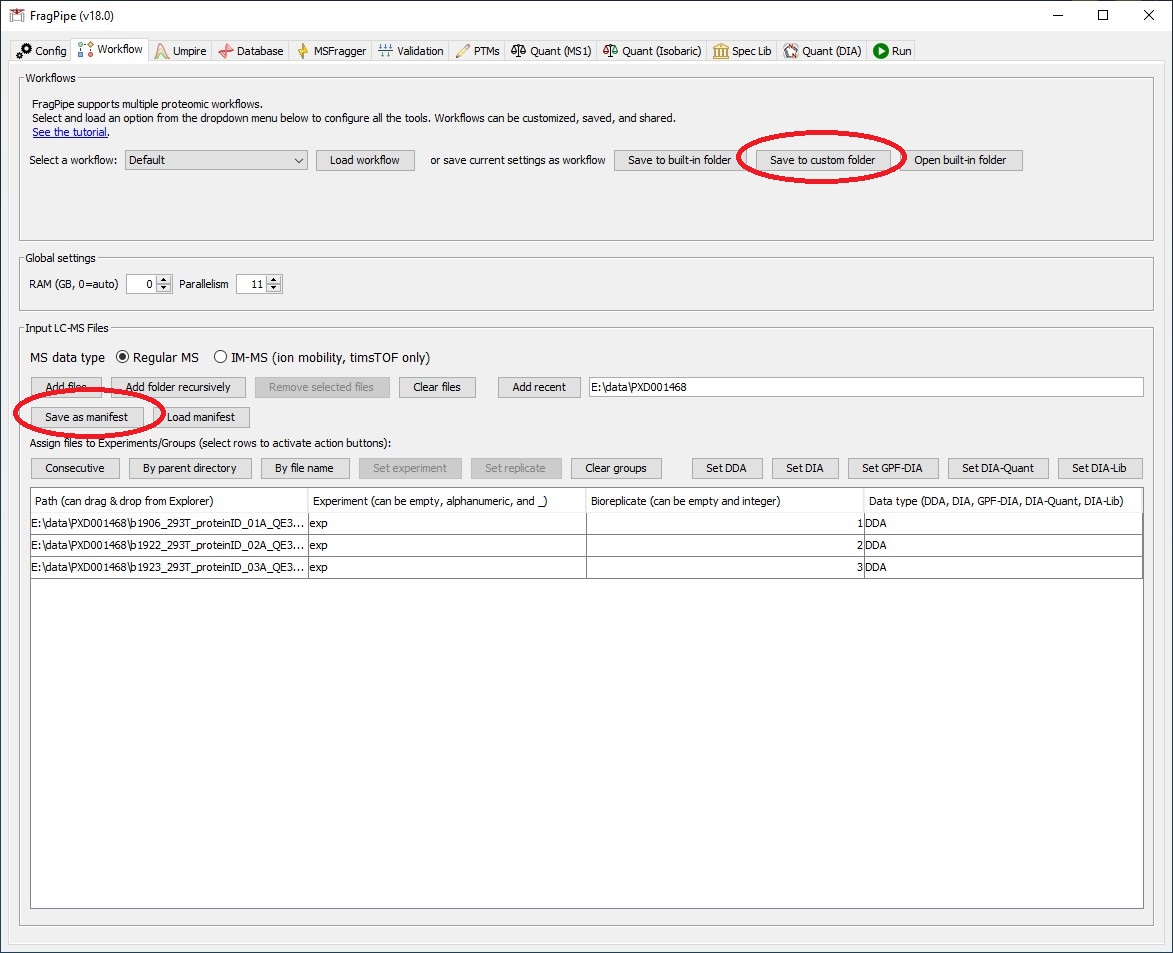
To export the workflow and manifest files, running FragPipe GUI, set the parameters, save the workflow to custom folder, and save the manifest file. These two files can also be edited by any text editor.